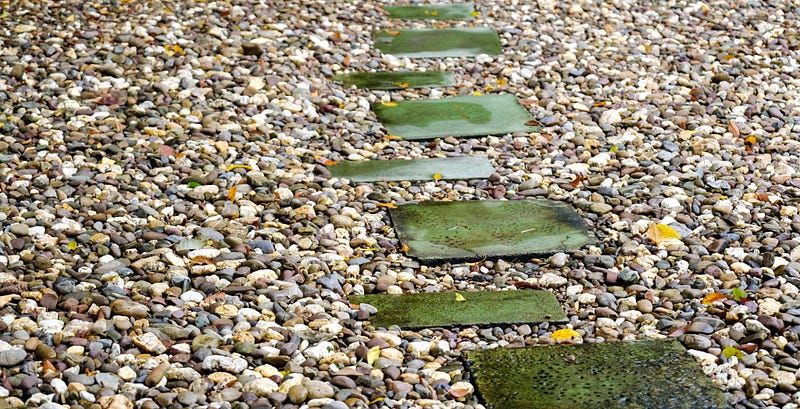
A Step-by-Step Guide to Installing Pebble Pathways

Introducing the elegance and practicality of pebble pathways — a delightful addition to any outdoor space. These pathways enhance the visual appeal of gardens and yards and provide a functional and inviting walkway. In this comprehensive guide, we’ll take you through each step of the installation process, guaranteeing your ability to effortlessly craft a resilient and visually striking pebble pathway.
From careful planning and design considerations to the finishing touches that make all the difference, we’ll equip you with the knowledge and techniques needed to transform your outdoor environment. Discover how to craft a pathway that blends seamlessly with nature while adding charm and functionality.
Materials Needed
Before you begin, gather the following materials:
- Pebbles (choose a size and color that complements your landscape)
- Edging material (options include metal, plastic, or wood)
- Weed barrier fabric
- Shovel
- Rake
- Level
- Tamper
- Mallet
- Gloves
- Safety goggles
- Pathway Location: Carefully select the location for your pebble pathway. Consider the natural flow of foot traffic in your outdoor space and choose a path that is both functional and visually pleasing. Take into account any specific areas of your garden or yard that you wish to highlight or connect.
- Pathway Shape and Dimensions: Decide on the dimensions and shape of your pathway. The chosen dimensions and shape will be determined by considerations like the space at your disposal, the features of the surrounding landscape, and the intended purpose of the pathway. A wider pathway might be preferable in areas with heavier foot traffic, while a meandering, narrower path could create a more intimate and scenic route.
- Edging Selection: Choosing the right edging material is crucial for the longevity and stability of your pebble pathway. Metal, plastic, and wood are common options. Consider the aesthetic appeal, durability, and compatibility with the overall design of your outdoor space.
Step 2: Clearing and Excavation
Clearing the pathway area is a vital preparatory step. Remove any existing vegetation, rocks, or debris to ensure a clean surface. This enhances the visual appeal and provides a smooth foundation for the subsequent steps. Use a shovel to excavate the area to approximately 4 inches. This depth allows for the proper placement of base materials and pebbles.
Step 3: Installing Edging
Edging plays a crucial role in defining and containing your pebble pathway. It prevents the pebbles from spilling over into adjacent areas. Place your chosen edging material along the sides of the excavated pathway, ensuring it follows the planned route. Use stakes or anchors to secure it and ensure it is level. Properly installed edging provides a neat and structured border for your pathway.
Step 4: Weed Barrier
Weed barrier fabric is vital to prevent unwanted vegetation from sprouting through the pebbles. Lay it down within the excavated area, ensuring full coverage. This fabric acts as a barrier, allowing water to pass through but inhibiting the growth of weeds. This step significantly reduces the maintenance required for your pebble pathway, ensuring it remains a low-maintenance and visually appealing outdoor space feature.
Step 5: Base Material
The base material, typically crushed gravel or sand, provides a stable foundation for the pebbles. Spread it evenly over the excavated area using a rake. Ensure an even layer with a depth of about 2–3 inches. Once spread, compact the base material firmly using a tamper. This compaction is crucial to create a solid and stable surface for the pebbles to rest on.
Step 6: Pebble Placement
Now it’s time to bring in the star of the show — the pebbles! Carefully pour them onto the prepared base and spread them evenly using a rake. Pay attention to achieving a consistent thickness of pebbles throughout the pathway. Use a level to ensure the surface is flat and even. This step sets the foundation for your pebble pathway’s aesthetic appeal and functionality.
Step 7: Compact the Pebbles
Gently tamp down the pebbles using a tamper or mallet. This step is crucial for settling the pebbles into place and creating a firm, even surface. Take care not to press too hard, as you want to achieve a stable surface without displacing the pebbles.
Step 8: Finishing Touches
Carefully inspect the pathway for any uneven areas or gaps between the pebbles. Add more pebbles as needed to fill in any gaps and ensure a consistent surface. Re-tamp if necessary to maintain a stable and even pathway. This attention to detail ensures your pebble pathway installation’s polished and professional finish.
Step 9: Clean-Up
Use a broom or a leaf blower to clear away any stray pebbles from both the pathway’s surface and its immediate surroundings. This final step ensures a clean and tidy finish, enabling your pebble pathway to stand out as a splendid and practical enhancement to your outdoor area.
Conclusion
Making a pebble pathway is a satisfying project that makes your outdoor area look better and more useful. By following this step-by-step guide, you’ve created a pathway that not only enhances the aesthetics of your landscape but also provides a practical and durable surface for walking.
Thinking ahead and being careful with every step is important for a successful setup. From the initial design considerations to the final clean-up, each step plays a crucial role in creating a pathway you can enjoy for years.
With your pebble pathway in place, take a moment to appreciate the transformation it brings to your outdoor space. Whether it’s a tranquil garden retreat or a functional walkway, your pathway is now a testament to your vision and craftsmanship. Enjoy the beauty and convenience of your new pebble pathway for years to come!
Decorative Stone Solutions offers a wide range of high-quality stones, ideal for installing Pebble Pathways. Their expert guidance and premium products ensure a seamless, aesthetically pleasing pathway.
Visit https://www.decorativestonesolutions.com for inspiration and practical solutions in landscaping.
Comments
Post a Comment